Wall holes can be repaired quickly and easily if you know what to do. You just need a few basic tools, some drywall patching compound and paint, and a little bit of patience. Here are the steps:
Step 1: Remove the damaged drywall.
To begin, remove the damaged drywall. Use a drywall saw to cut out the damaged drywall and then tap out any nails with a hammer. Vacuum up any debris that remains on top of your subflooring before moving on to Step 2.
Step 2: Clean up the area to be patched with a vacuum and a damp rag.
Clean up the area to be patched with a vacuum and a damp rag.
Use a vacuum to clean up dust and debris. Then, use a moist cloth or paper towel to wipe away any excess dirt or grime that’s on the wall around the hole. This will help ensure your patch blends in seamlessly with your walls when you’re done painting it.
Step 3: Cut a piece of drywall to fit snugly into the hole.
- Measure the size of the hole. Use a tape measure to determine the length and width of your repair area, then subtract 1/2 inch from each measurement. This will leave enough room for drywall compound when you’re finished patching up your wall.
- Cut your piece of drywall with a utility knife or drywall saw in order to create an opening that’s slightly smaller than what you measured earlier (so it fits snugly into place).
Step 4: Nail the patch into place with framing nails or screws, depending on how deep inside the wall the hole is located.
Once you’ve applied the patch, nail it into place with framing nails or screws, depending on how deep inside the wall the hole is located. For this step, you can use either a hammer and nail set or a drill and screwdriver attachment. A level will help ensure that your patch stays straight as you drive in your fasteners–and don’t forget to pull them back out if they go too far!
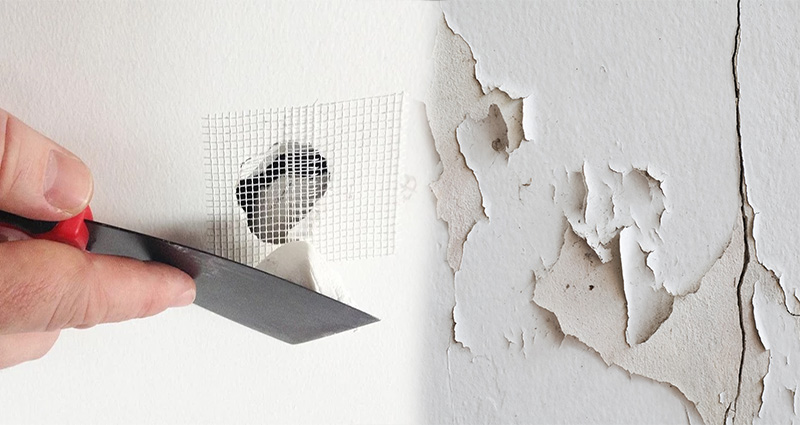
Step 5: Cover the screw heads with spackling compound and let it dry completely before sanding smooth and painting over it.
Use a putty knife to smooth the spackle and make it flush with the wall. Let the repair dry for at least 24 hours, then sand it until it is smooth. The paint will cover up any remaining imperfections in your repair job, but if you want to be extra sure that everything looks perfect, you may want to apply two coats of paint before moving on with other projects in your home or office building!
Repairing holes in walls can be easy if you know what to do.
Holes in the wall can be a common problem, especially if you have kids or pets. Luckily, repairing holes in walls is an easy DIY project that can be done with just a few basic tools. There are many different ways to repair holes in walls, so we’ll go over some of them here and show you how they work!
- Caulk: This is probably one of the easiest ways to repair holes in your walls. All you need is some caulk and a putty knife (or other flat tool). Spread the caulk over both sides of where your hole was located then smooth it out with your tool until it looks nice and even. You might want to wait for 24 hours before painting over this area though because some caulks take longer than others do before they become fully dried out.*
We hope you found this article helpful and informative. If you have any questions or comments, please feel free to leave them below!
