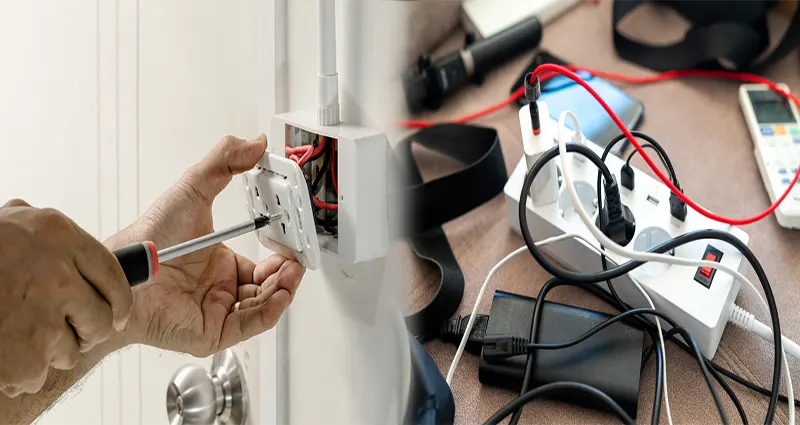
Troubleshooting Electrical Outlets That Stopped Working: A Step-by-Step Guide

When electrical outlets in your home suddenly stop working, it can be a frustrating inconvenience that disrupts your daily routine. However, before calling an electrician, there are several troubleshooting steps you can take to identify the root cause of the issue and potentially resolve it on your own. In this comprehensive guide, we’ll walk you through the steps to troubleshoot electrical outlets that have stopped working.

1. Check Other Outlets and Appliances

Start by checking other outlets in the same room or area to determine if the problem is isolated to a single outlet or affects multiple outlets. Plug in different appliances or devices to see if they are receiving power and functioning properly. This initial step can help narrow down the scope of the issue.

2. Reset Circuit Breakers

If the affected outlet is part of a circuit that has tripped, locate the circuit breaker panel in your home and check for any tripped breakers. Reset the tripped breaker by switching it off and then back on to restore power to the outlet. It’s important to reset the circuit breaker properly to avoid potential safety hazards.

3. Test GFCI Outlets

Ground Fault Circuit Interrupter (GFCI) outlets are commonly found in bathrooms, kitchens, and outdoor areas. If the non-working outlet is a GFCI outlet, check to see if it has tripped. Press the “reset” button on the GFCI outlet to restore power. Sometimes, multiple outlets are connected to a single GFCI outlet, so checking and resetting all GFCI outlets in … READ MORE >>>

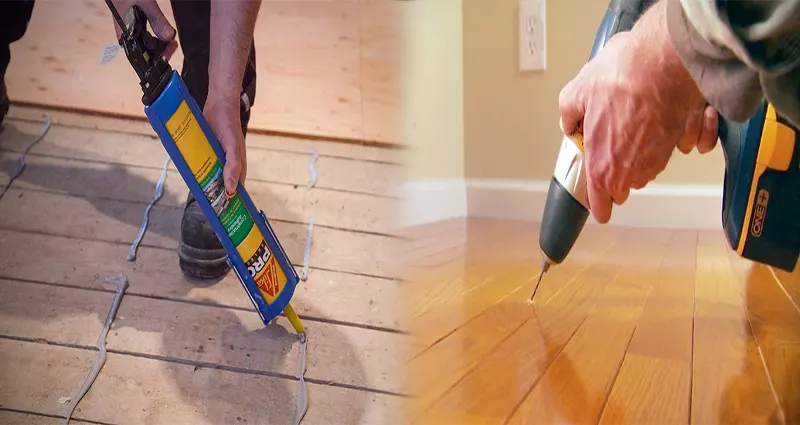
Common Causes of Squeaky Floors and Easy Fixes: A Comprehensive Guide

Squeaky floors can be a nuisance in any home, disrupting peace and quiet with every step. Fortunately, many of the common causes of squeaky floors have simple solutions that you can implement yourself. In this guide, we’ll explore the root causes of squeaky floors and provide easy fixes to help you silence those annoying creaks and groans.

1. Loose Floorboards

One of the most common causes of squeaky floors is loose floorboards. Over time, the flooring materials may shift or become detached from the subfloor, leading to squeaks and creaks when weight is applied.

Easy Fix:

  • Identify the loose floorboards by walking over the affected area and locating the source of the squeaks.
  • Secure the loose floorboards by adding screws or nails along the edges to reattach them to the subfloor.

2. Subfloor Issues

Subfloor problems, such as gaps or uneven surfaces, can also contribute to squeaky floors. When the subfloor is not properly supported or has gaps between the joists, it can lead to movement and noise when pressure is applied.

Easy Fix:

  • Fill gaps in the subfloor with shims or construction adhesive to stabilize the flooring and reduce movement.
  • Reinforce the subfloor by adding additional support beams or sistering joists to eliminate unevenness and prevent squeaks.

3. Moisture and Humidity

Excess moisture and humidity in the air can cause wood flooring to expand and contract, leading to squeaks and gaps between planks.

Easy Fix:

  • Maintain consistent humidity levels in your home with a dehumidifier or humidifier, depending on
READ MORE >>>
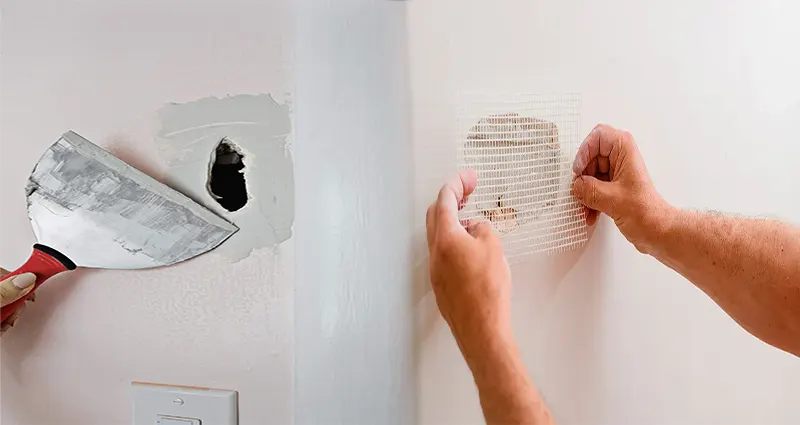
Patching a Small Hole in Drywall: A Step-By-Step Guide for DIY Enthusiasts

Are small holes in your drywall making your walls look less than perfect? Don’t worry, patching them up yourself is easier than you think! With just a few simple tools and materials, you can restore your walls to their former glory. Follow this step-by-step guide on how to patch a small hole in drywall yourself.

Materials You Will Need:

  • Spackling compound
  • Putty knife
  • Sandpaper
  • Paint (matching the color of your wall)
  • Paintbrush or roller

Step 1: Prepare the Area

Start by cleaning the area around the hole to remove any dust or debris. This will ensure that the patch adheres properly to the drywall.

Step 2: Fill the Hole

Using a putty knife, apply spackling compound to the hole. Press the compound into the hole and smooth it out with the knife, ensuring that it is level with the surrounding wall.

Step 3: Let it Dry

Allow the spackling compound to dry completely. This usually takes about 24 hours, but follow the instructions on the product for the best results.

Step 4: Sand the Area

Once the compound is dry, use sandpaper to smooth out the patched area. Be gentle with the sanding to avoid damaging the surrounding wall.

Step 5: Paint the Patched Area

Finally, paint over the patched area with a paint color that matches your wall. Use a paintbrush or roller to seamlessly blend the patch with the rest of the wall.

Congratulations! You have successfully patched a small hole in your drywall all by yourself. Enjoy … READ MORE >>>

Emergency Roof Repair Tips for Sudden Leaks

A sudden roof leak can be a homeowner’s worst nightmare, especially during a heavy storm or unexpected weather event. When faced with a leaking roof, it’s crucial to act quickly and take immediate steps to minimize water damage and protect your home. In this article, we will discuss emergency roof repair tips for dealing with sudden leaks and preventing further damage.

1. Identify the Source of the Leak

The first step in addressing a sudden roof leak is to identify the source of the problem. Look for signs of water staining on the ceiling, dripping water, or damp spots in the attic to pinpoint the exact location of the leak. Trace the path of the water to determine where the roof might be compromised.

2. Clear Debris from the Roof

In cases where a roof leak is caused by clogged gutters, debris buildup, or fallen branches, it’s important to safely clear the roof of any obstructions. Use a ladder and appropriate safety gear to remove debris and ensure that water can freely flow off the roof without being impeded.

3. Temporarily Patch the Leak

If you can safely access the area of the roof where the leak is occurring, consider applying a temporary patch to stop the flow of water. Use roofing cement, roofing tape, or a tarp to cover the damaged area and prevent water from entering the interior of your home. Remember that a temporary fix is just that – temporary. You will still need to address the … READ MORE >>>

DIY Guide for Fixing a Leaky Faucet in the Bathroom

Are you tired of the constant drip, drip, drip of a leaky faucet in your bathroom? Not only can a leaky faucet be annoying, but it can also waste a significant amount of water and increase your utility bills. The good news is that fixing a leaky faucet is a common household repair that you can easily tackle on your own with just a few tools and some basic know-how. In this DIY guide, we will walk you through the steps to repair a leaky faucet in your bathroom.

Step 1: Gather Your Tools

Before you begin, make sure you have the necessary tools on hand. You will likely need an adjustable wrench, screwdriver, plumber’s grease, and replacement parts for the faucet, such as washers or O-rings.

Step 2: Turn Off the Water Supply

Locate the shut-off valves under the sink and turn off the water supply to the faucet you will be working on. This will prevent any water from flowing while you make the repair.

Step 3: Disassemble the Faucet

Use the screwdriver to remove the handle of the faucet. Once the handle is removed, you will have access to the cartridge or stem assembly inside the faucet.

Step 4: Inspect and Replace Parts

Examine the cartridge or stem assembly for any worn or damaged parts, such as washers or O-rings. These components are common culprits for causing leaks in faucets. Replace any worn parts with new ones.

Step 5: Reassemble the Faucet

Once you have replaced any … READ MORE >>>