Common Causes of Squeaky Floors and Easy Fixes: A Comprehensive Guide
Squeaky floors can be a nuisance in any home, disrupting peace and quiet with every step. Fortunately, many of the common causes of squeaky floors have simple solutions that you can implement yourself. In this guide, we’ll explore the root causes of squeaky floors and provide easy fixes to help you silence those annoying creaks and groans.
1. Loose Floorboards
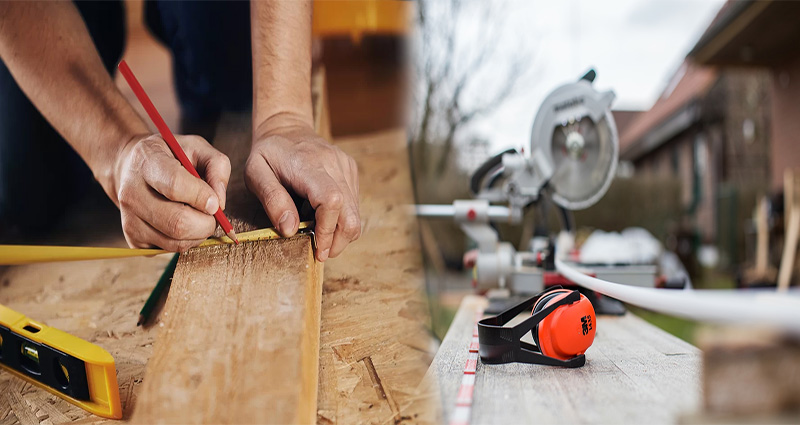
One of the most common causes of squeaky floors is loose floorboards. Over time, the flooring materials may shift or become detached from the subfloor, leading to squeaks and creaks when weight is applied.
Easy Fix:
- Identify the loose floorboards by walking over the affected area and locating the source of the squeaks.
- Secure the loose floorboards by adding screws or nails along the edges to reattach them to the subfloor.
2. Subfloor Issues
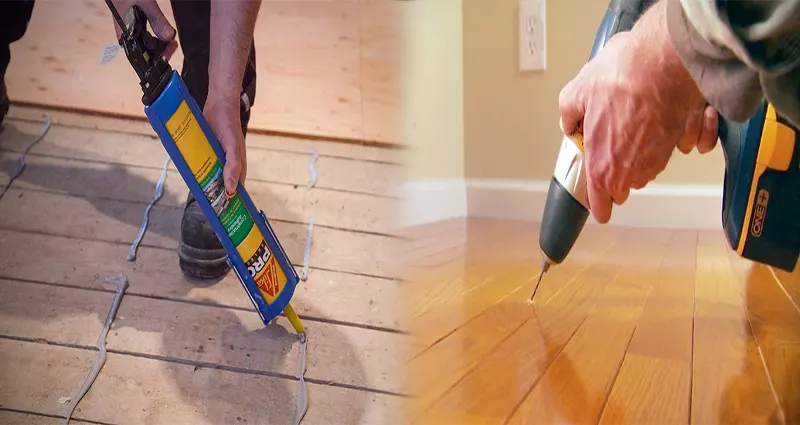
Subfloor problems, such as gaps or uneven surfaces, can also contribute to squeaky floors. When the subfloor is not properly supported or has gaps between the joists, it can lead to movement and noise when pressure is applied.
Easy Fix:
- Fill gaps in the subfloor with shims or construction adhesive to stabilize the flooring and reduce movement.
- Reinforce the subfloor by adding additional support beams or sistering joists to eliminate unevenness and prevent squeaks.
3. Moisture and Humidity
Excess moisture and humidity in the air can cause wood flooring to expand and contract, leading to squeaks and gaps between planks.
Easy Fix:
- Maintain consistent humidity levels in your home with a dehumidifier or humidifier, depending on