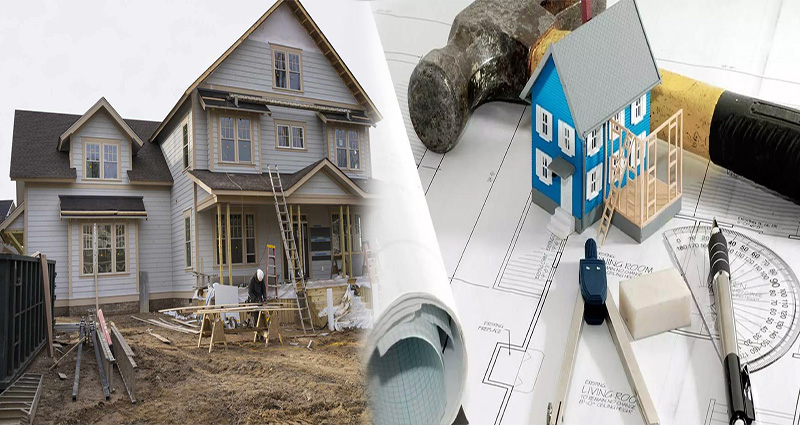
The Psychology of Selling A House
The process of selling a house is hard on homeowners. You have to figure out how much your home is worth, list it for sale, and deal with buyers who want to haggle over the price. But there’s more to selling a home than just trying to get the most money out of it. Research shows that buying and selling houses can be just as emotionally taxing—and even traumatic—as buying and selling cars or other large items that require significant commitments of time and money. The good news is that we know how psychology factors into these major life events, which means we can help you better understand what you’re going through when selling your home so that you can make an informed decision about whether now really is the right time for such an undertaking!
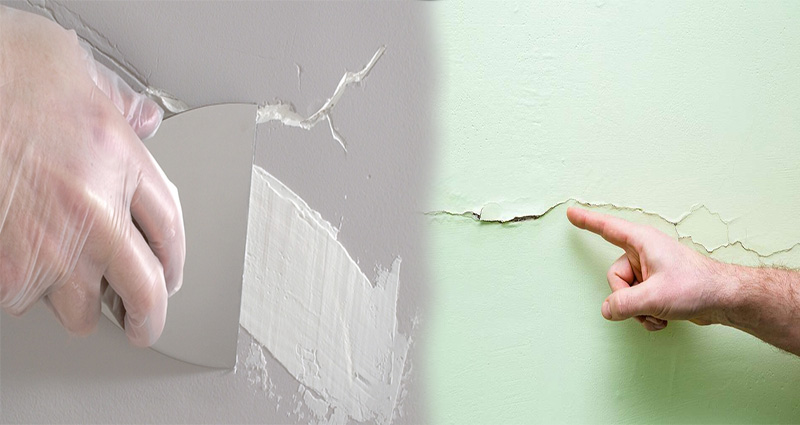
The intense work of fixing up a house can be rewarding, but it’s also exhausting.
Fixing up a home can be an incredibly rewarding experience, but it’s also exhausting. You have to put in a lot of time and effort to make your house look good enough to sell.
You may not get much sleep while you’re fixing up your house because you’ll probably have to work around the clock to get everything done before the deadline set by your real estate agent.
Research shows that people who sell their homes have to overhaul their living space when they buy a new one.
Research shows that people who sell their homes have to overhaul … READ MORE >>>