Drywall patching is a quick and easy job you can do yourself. Whether it’s an accidental hole in the wall or a more serious problem with water damage, patching drywall is a simple DIY project that will help you restore your home to its former glory. There are several different ways to repair drywall; depending on the size, location and type of damage we can use all types of materials including joint compound (mud), spackle and tape with paper backing. This article will go through each step in detail so that you know exactly how to repair drywall like a pro!
Drywall patches are easy to make if you have the right tools, materials and know-how.
To make a successful drywall patch, you’ll need:
- Drywall compound (aka joint compound). This is the material that fills the space between layers of drywall. You can get it at any hardware store or home improvement store.
- A taping knife, which is a long flat tool with a handle at one end and a curved blade on the other end. It’s used to spread out the joint compound as evenly as possible over large areas without making too many mistakes!
- Sandpaper in various grits (coarse, medium and fine) so you can smooth out any rough spots after your first coat dries up completely before applying another layer of joint compound over top those areas where there might still be some bumps left behind by sanding down too much earlier on while trying not miss any spots while spreading out new coats evenly across entire surface area being worked upon – don’t worry though because this won’t happen if following instructions carefully 🙂
Step 1
- Prep the area. Remove the damaged drywall, clean up the mess, and patch any holes you might have left behind.
- Patch it up! Use joint compound or spackling to fill in any cracks or holes in your wall–and make sure it’s smooth! Don’t worry if there are still some bumps; we’ll cover those up later with sandpaper (more on that later).
- Sand everything down until smooth–it should feel like glass when you’re done! You can use a hand sander or an electric one if you’re feeling ambitious; just be careful not to get carried away and sand through all three layers of drywall at once!
Once everything is nice and smooth-looking again, paint over it all with primer so that whatever color paint you choose will stick better later on down the road when we get around doing that step too.”
Step 2
- Use the correct tools.
- Choose the right patch material.
- Choose the right adhesive.
- Have the right safety equipment and know how to use it safely before starting your project!
Step 3
- Use a utility knife to cut the drywall patch. A utility knife is a good tool for cutting drywall patches because it has a sharp blade that can slice through the material easily, but it’s not so sharp that you’ll risk cutting yourself if you’re not careful.
- Use a drywall saw to cut the drywall patch. If you have access to one, this is probably your best bet if you want perfect cuts every time and don’t mind spending some extra time on them (it takes longer than using just a utility knife). It also gives off less dust than other methods at this step in our guide!
- Use a drywall hammer (or mallet) when making cuts with either type of saw we’ve mentioned above: either way will work fine here; however, we recommend using whichever seems easiest based on what kind of person you are 🙂
Step 4
Step 4: Apply a thin layer of joint compound over the patch.
Use a drywall sponge to smooth out the compound, working from one side of the patch to another. Use a drywall knife to feather (or blend) the edges of your repair into existing wall with long strokes, starting at one end of the repair and moving toward another end in an overlapping fashion. Let it dry overnight before sanding and painting!
Patching drywall is a simple job you can do yourself.
Before you get started, make sure you have all the tools and materials you need. Drywall is heavy, so it’s a good idea to have a helper on hand if possible. If not, be sure that your workspace has enough room for two people to work comfortably without getting in each other’s way. If possible, set up some sort of barrier between yourself and any nearby walls or furniture–this will prevent accidental damage while working with power tools like drills or screwdrivers!
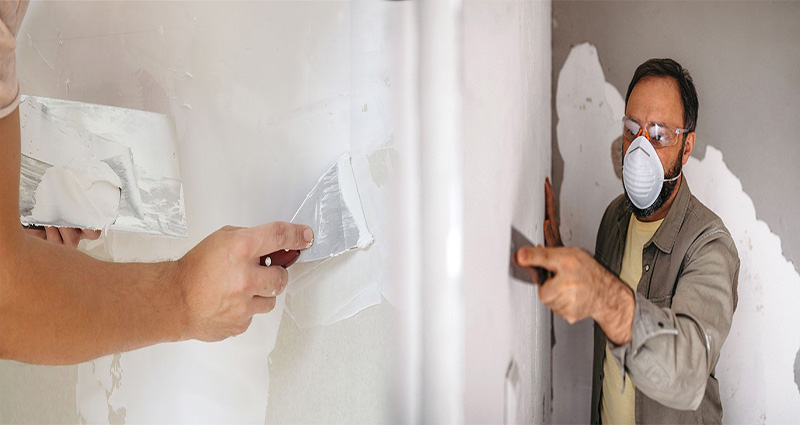
Next up: safety equipment! You’ll need eye protection (safety glasses), earplugs (if there are loud noises), dust masks (for dust) and possibly even respirators depending on what kind of work is being done in the area being repaired by patching drywall. Make sure these items are readily available before beginning any repairs; otherwise they may not be available when needed most!
You can patch drywall yourself, it’s a simple job that requires just a few tools and materials.
